Mastering the Abhorrent Imperative Mission in Destiny 2

Abhorrent Imperative isn’t just another weekly story beat. It’s the grand, explosive finale of Season of the Seraph—and it lands with the force of a Warsat drop. Guardians who have been methodically decoding Rasputin’s secrets finally get to take the fight directly to Eramis, but there’s a catch: this mission is locked at Legendary difficulty, complete with punishing modifiers and no room for careless play. So, what does it actually take to beat this orbital showdown? Many players ask if they really need a fireteam, if specific subclasses are mandatory, or if the mechanics feel as oppressive as a raid encounter. The good news is that Abhorrent Imperative is surprisingly approachable once you understand its flow—and the heavy frames you’ll befriend along the way are absolute lifesavers.
How to Unlock the Season Finale

Before any daring spacewalk, a Guardian has to complete the “More Than a Weapon” questline. This seasonal story chain weaves through Heist Battlegrounds and numerous conversations with the H.E.L.M. war table. Unlike some past narratives, it doesn’t feature brutal time-gating; dedicated players can power through the steps in a few sittings. Once the final objective is checked off, the next stop is a conversation with Rasputin himself. That interaction unlocks the Abhorrent Imperative mission node on the H.E.L.M. director. It’s worth noting that rewards include the Exotic ship Spirit of the Warmind, a sleek trophy that remains a favorite among collectors even in 2026. Don’t sleep on it—completing the mission before the seasonal content cycle ends ensures that prize stays in the hangar.
Mission Modifiers and Loadout Wisdom

Abhorrent Imperative carries three modifiers that reshape how you approach combat. The table below breaks them down:
| Modifier | Effect |
|---|---|
| Mettle | Your effective Power is capped; no amount of overleveling will give you an advantage. |
| Legendary | Shielded enemies flood the field with aggressive tactics, demanding precision and high burst damage. |
| Galvanized | Enemies have significantly more health and shrug off stuns more easily. |
Notice anything missing? No Match Game, no Champions, no crippling singes. That means your loadout can focus purely on survivability and add-clear without juggling anti-barrier or unstoppable mods. Still, playing at a permanent Power disadvantage makes enemy snipers and rushing melee units genuinely threatening.
What works best? Hunters can lean heavily on Arcstrider with Combination Blow and Assassin’s Cowl for a punch-dodge-repeat loop that restores health on almost every kill. Nightstalkers, on the other hand, transform into invisible assassins when pairing Gyrfalcon’s Hauberk with Stylish Executioner—finishing foes grants volatile rounds and a clean escape. Warlocks have two standout picks. Dawnblade offers Icarus Dash mobility and potent healing grenades, while Starfire Protocol fuels endless Fusion Grenades during Radiant phases. Shadebinder fans can lock down entire rooms with Osmiomancy Gloves and Bleak Watcher turrets, making aggressive Hive Knights trivial. Titans should stick with Striker. Touch of Thunder Storm Grenades, amplified by Heart of Inmost Light, clear hordes and chunk bosses without breaking a sweat. The key in every build is to have a reliable way to heal or disengage, because the space station rarely gives you a breather.
Making the Entrance Under Orbital Fire
The mission opens on the exterior of Seraph Station, a sequence any Deep Stone Crypt raider will recognise. The objective is simple: reach the hangar while Warsat artillery paints the catwalks with blinding blasts. Along the way, Fallen squads hunker behind cover. They aren’t the real danger—it’s the environment. A well-timed rocket or an overeager sprint can end a run before the first boss. Recommended approach? Use a scout rifle or pulse rifle to thin out snipers from a safe distance, and don’t be shy about using grenades to scatter clustered Dregs. Pay attention to red indicator lights on the ground; they telegraph incoming strikes. Once inside, the pressure eases slightly, but only slightly.
The Eramis Duel That Teaches Patience
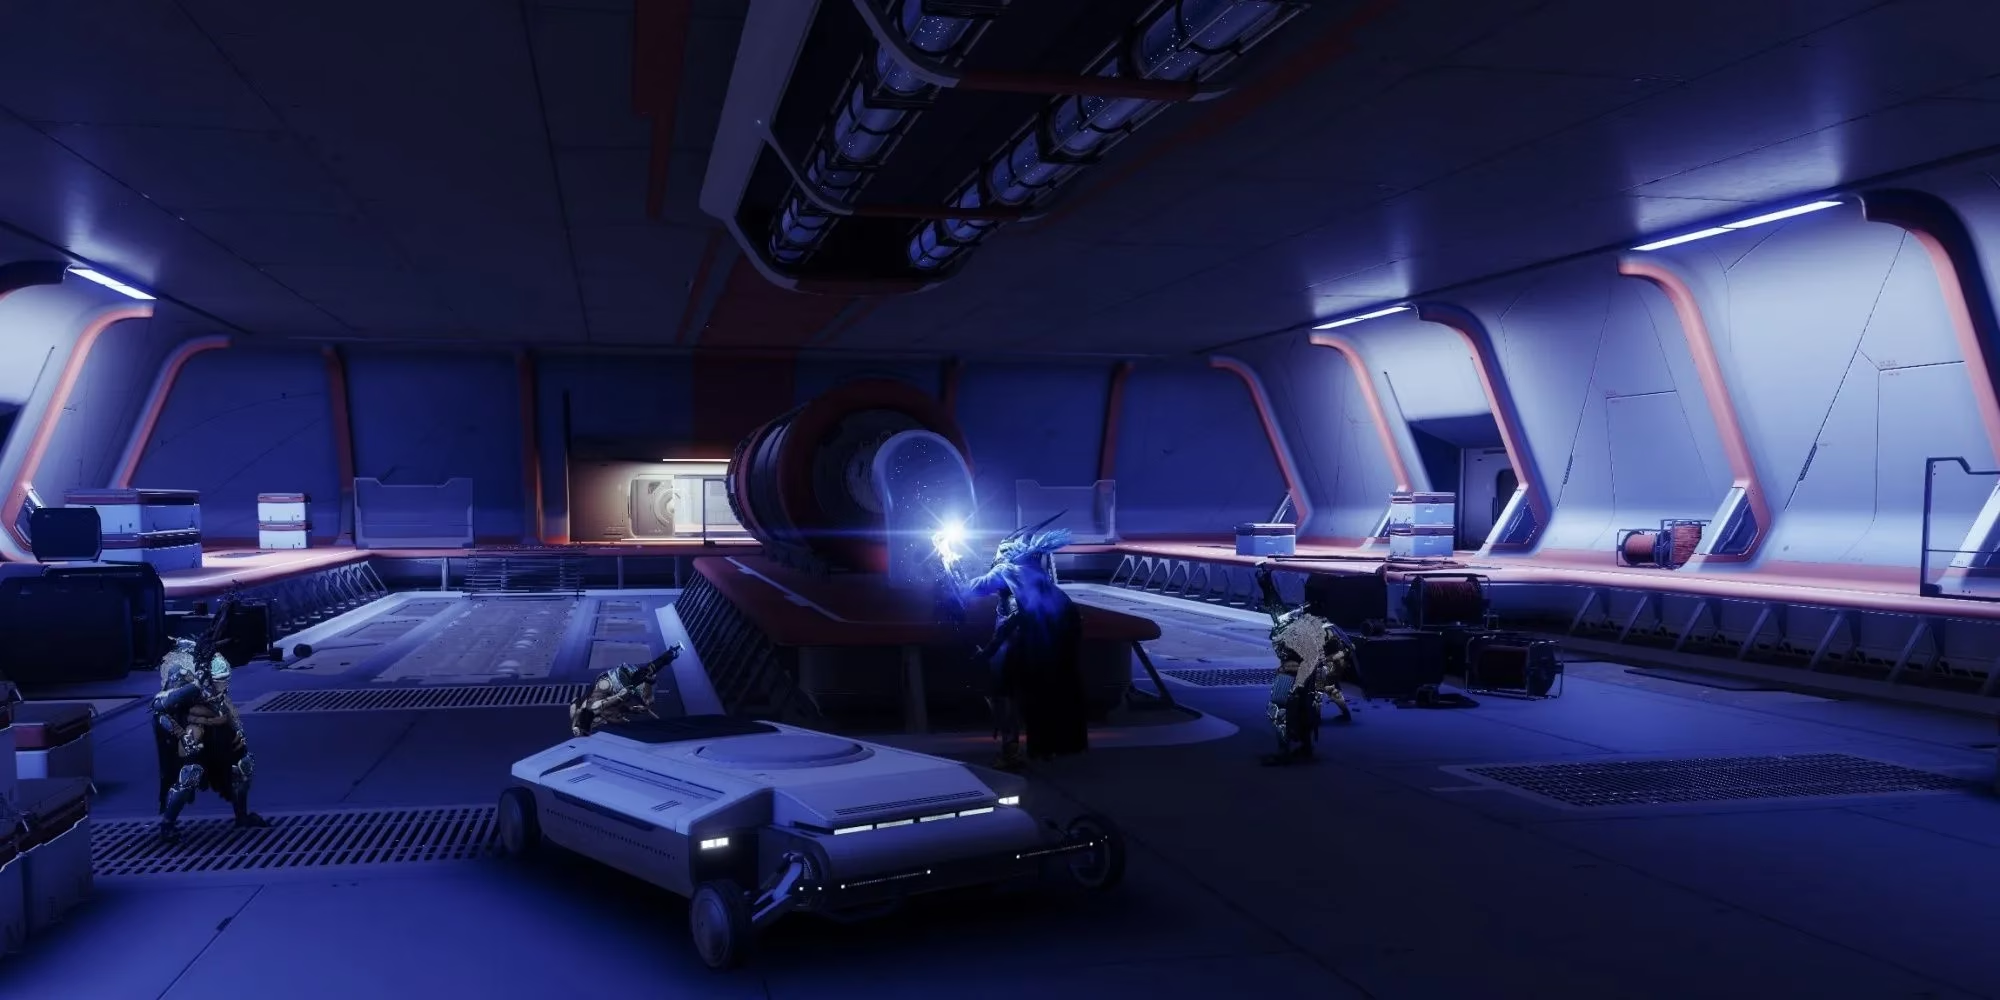
Eramis has waited for this rematch, and her Stasis arsenal has lost none of its bite. She peppers the floor with crystal trails that freeze on contact, forcing you to stay mobile and airborne whenever possible. The encounter’s secret? You’re not meant to kill her here. The objective is survival and sustained damage. Many new players panic when Eramis’s health bar barely budges, but the mission only demands that you force her to retreat. A grenade launcher or linear fusion rifle can chip away at her with safe peeks. Strafe diagonally to avoid her crystal volleys, and save your Super for the waves of House Salvation adds that pour in from the flanks. After dealing enough total damage, Rasputin intervenes with an ally every Guardian loves: Heavy Frames, towering Warmind constructs that act like invincible Ogres. They draw aggro and pummel enemies, giving you room to breathe. Clear the hangar, and the door to the station interior slides open.
Pushing Through Fallen and Hive—With Mechanical Support
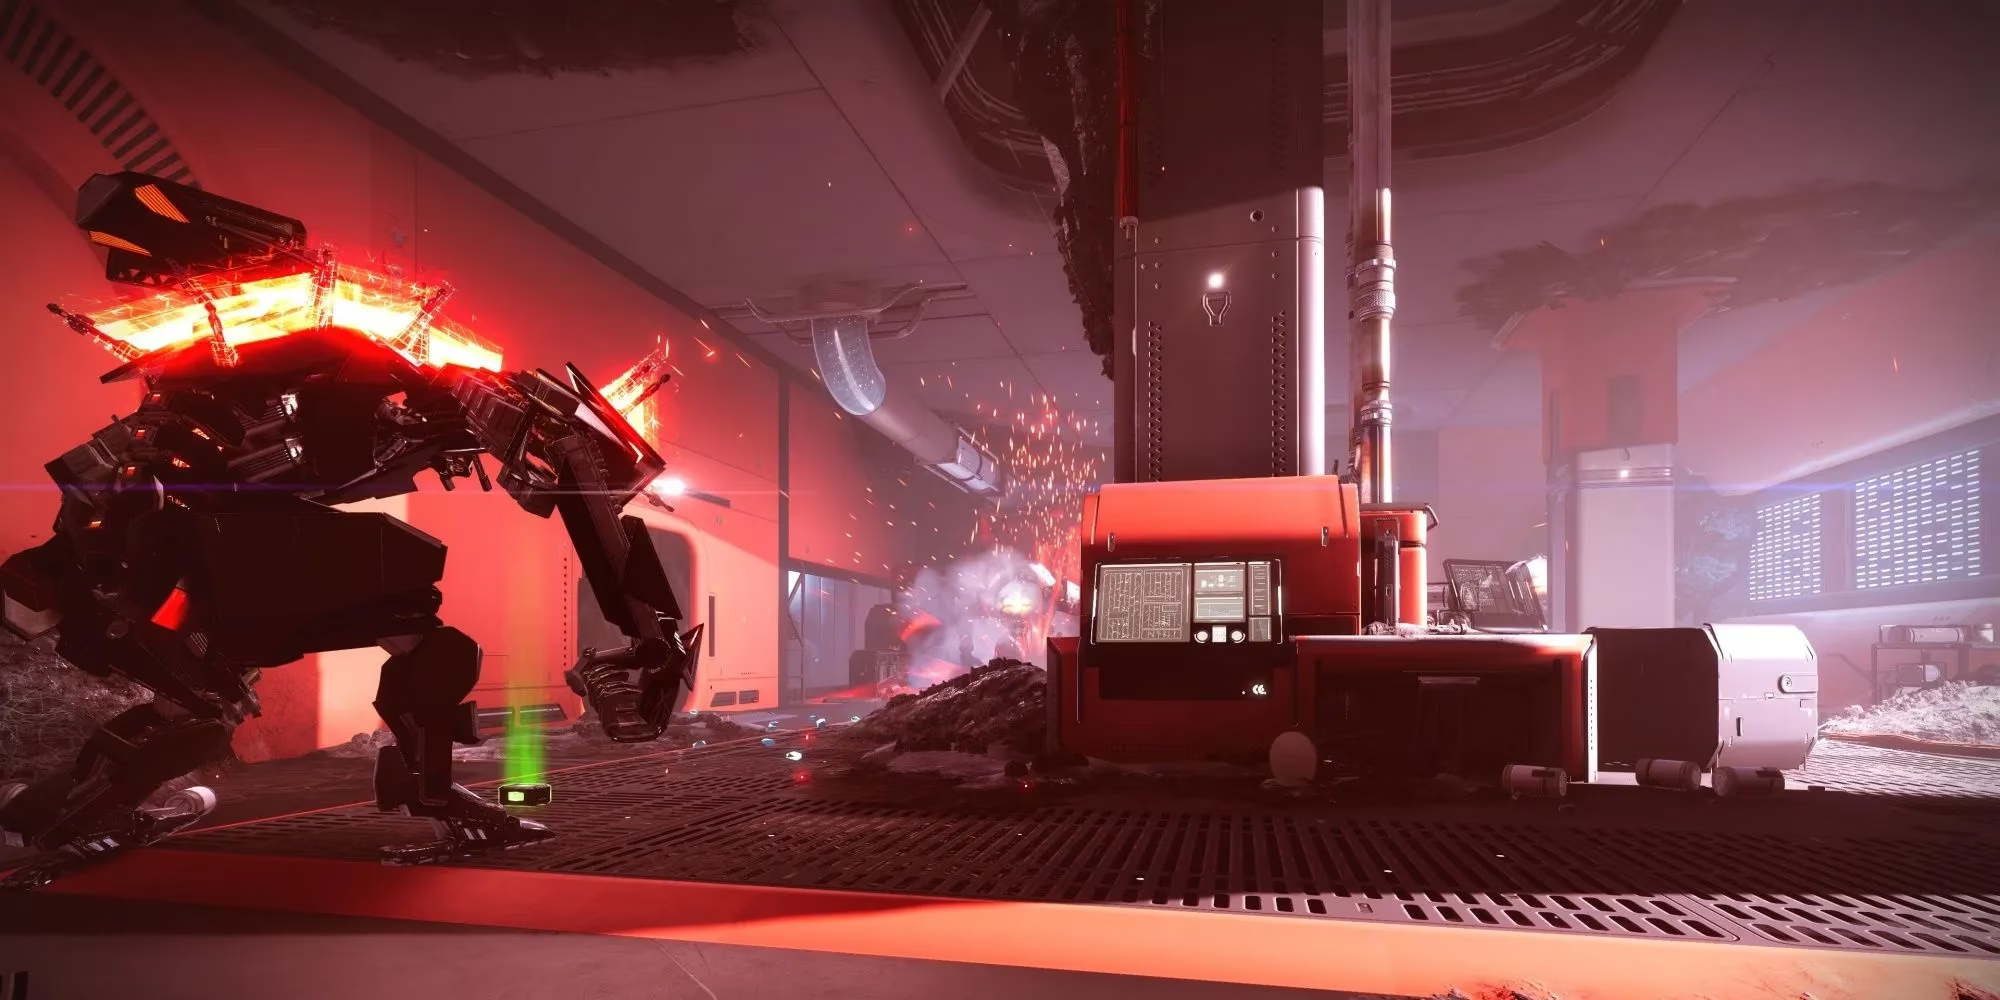
Inside the station, the puzzles from the Seraph Shield exotic mission are absent. This is a straightforward fight corridor that mixes Fallen riflemen and Hive thralls. The Heavy Frames continue to spawn and act as mobile battering rams. Smart players will treat them as moving cover, picking off priority targets like Wizards or Captains while the frames tank. Conserve heavy ammo for what’s coming next—a Broodlord that doesn’t play fair. The path winds through familiar architecture, so anyone who has run Seraph Shield will navigate it intuitively. Once the control center comes into view, clear the remaining defenders and brace for the final upload sequence.
Defeating Ir Garza, Scourge of Earth
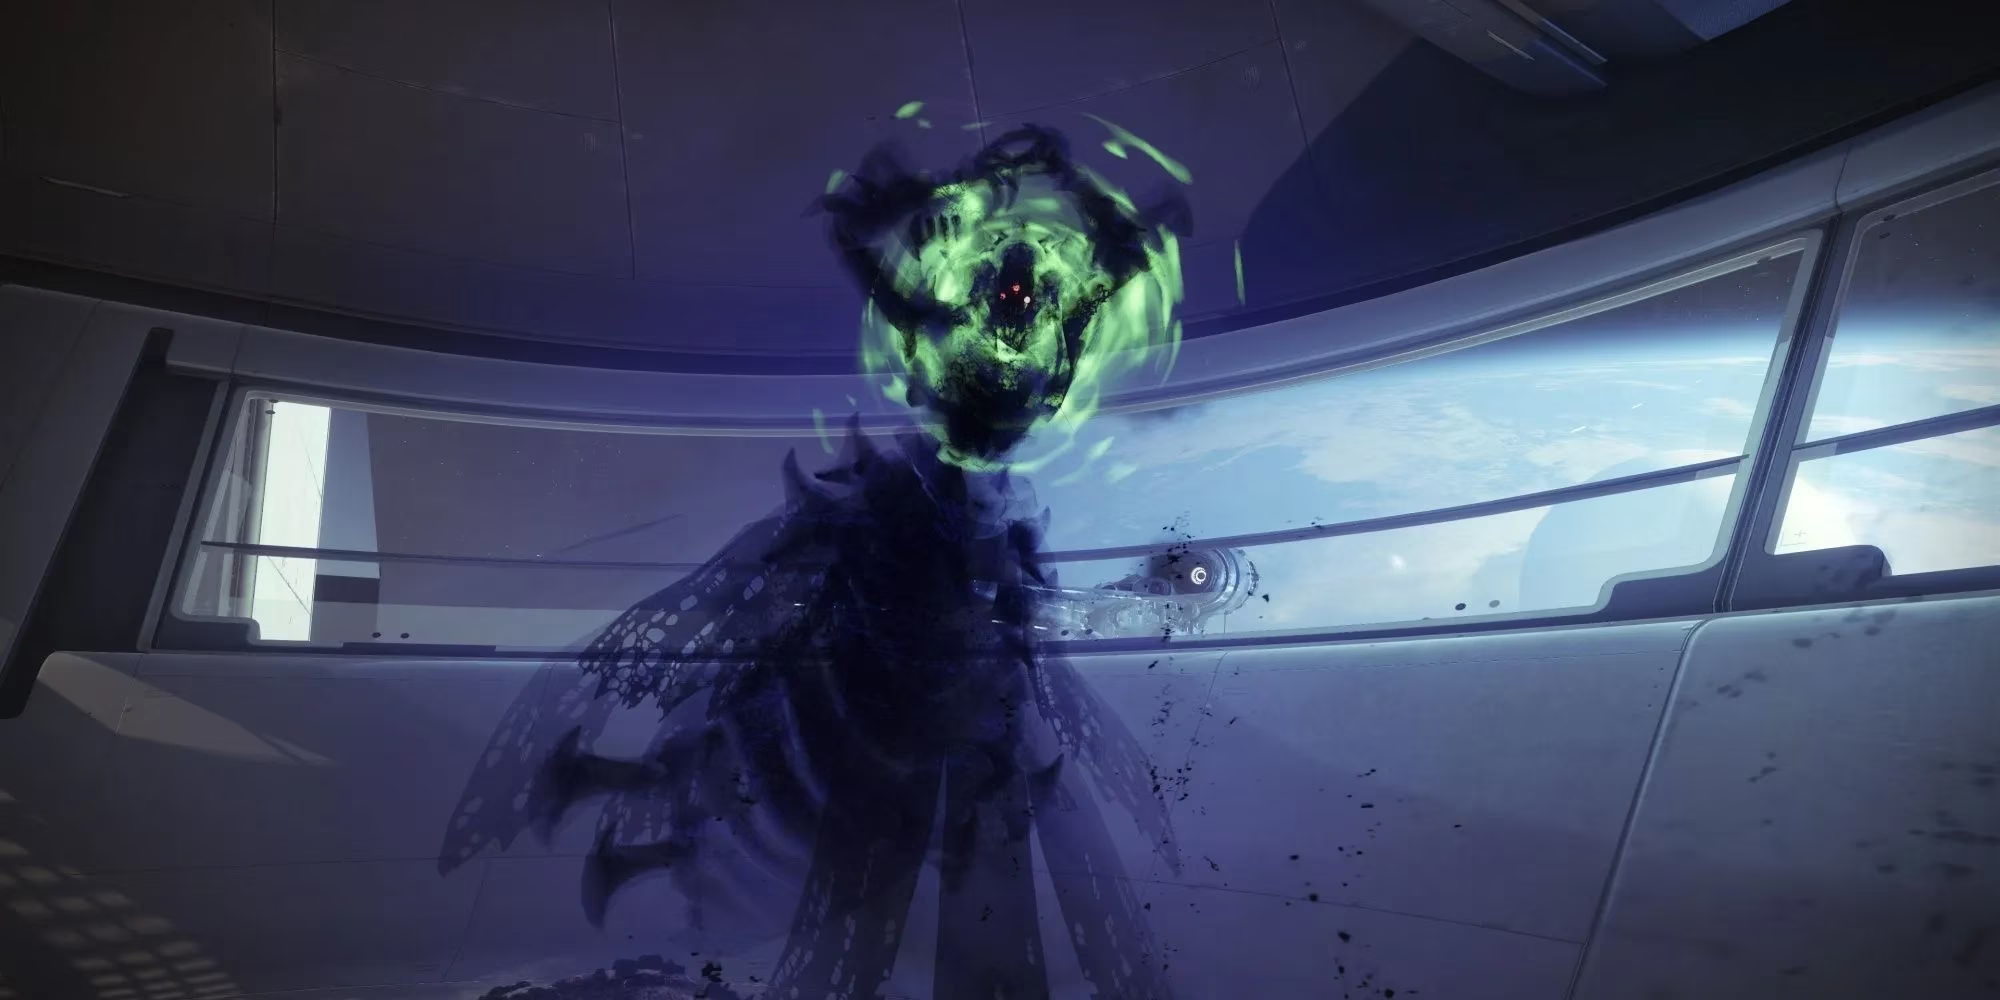
As Rasputin’s upload begins, Ir Garza claws her way into the room. This Hive Broodlord has a three-segment health bar and an irritating immunity mechanic. The rhythm of the fight is: burst down her health until she shields, then eliminate the Hive Knight that spawns near the room’s edge to break the shield. Seems easy? The thorns coating the floor and a devastating fire blast that crosses the entire arena demand smart positioning. Stick to the upper walkway to avoid the poison, and always keep a pillar or wall between yourself and the boss when the flame attack windup occurs. After two cycles of immunity breaking, the Broodlord falls, and every remaining Hive despawns. Wipe out adds between damage phases to prevent being overwhelmed. For ammo emergencies, a Special Finisher mod on your class item can pull you back from the brink.
Completing Abhorrent Imperative isn’t just a checkmark—it’s a rite of passage that showcases how far seasonal storytelling can push difficulty without requiring a raid team. With the right build and a little patience, any Guardian can walk away with that glorious Exotic ship and a victory worth bragging about.
Discussion