Destiny 2: The Ghosts Mission Guide for Patient Guardians in 2026
The Ghosts is still one of Destiny 2's great patience tests in 2026. The Witch Queen campaign has aged, the sandbox has shifted, and fireteam tools are friendlier than ever, but this mission still asks the same question: can a Guardian stay calm while a Lucent Wizard turns the room into a lightning storm? A fireteam that respects cover, brings a Void weapon, and refuses to panic will finish it. A fireteam that rushes will donate its revive tokens to the Scorn. 😅
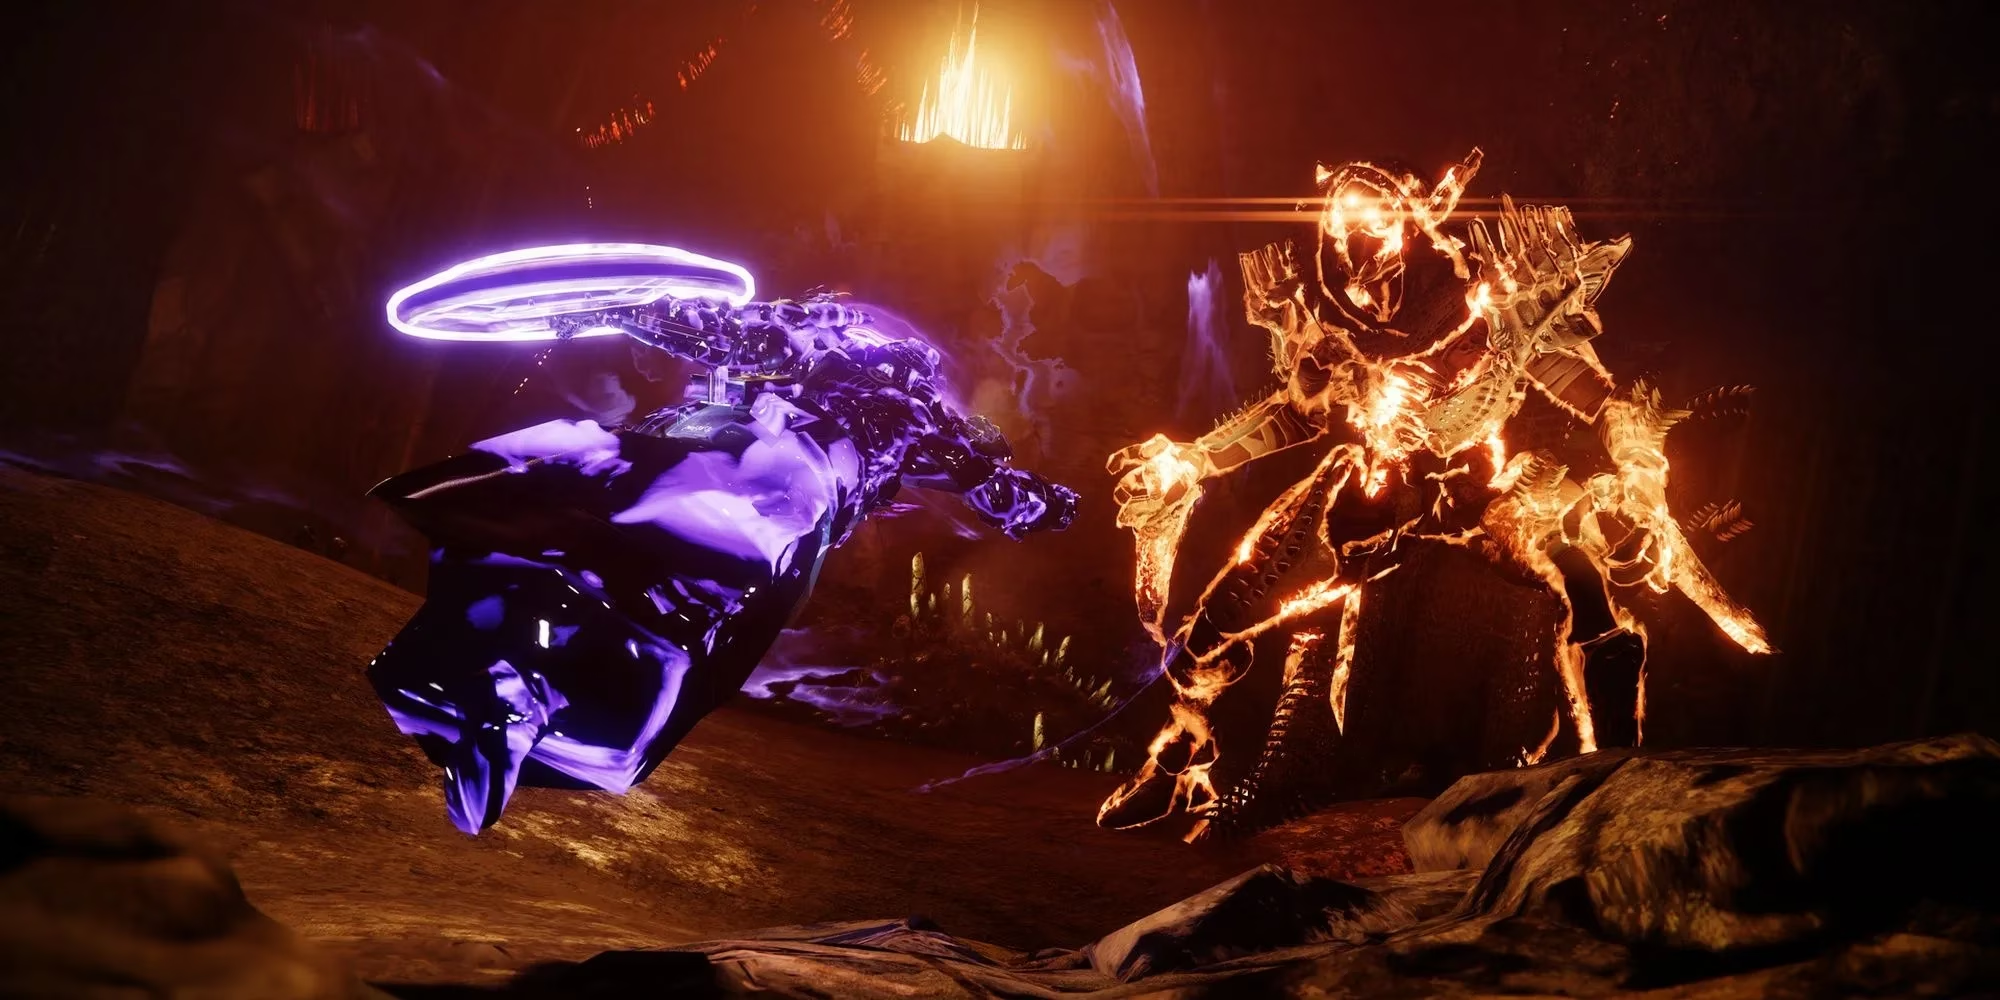
What players are walking into
The mission sends players into Savathun's Throne World to hunt a Lucent Lightbearer, break through Scorn fortifications, and finally confront Brutiks, Lightbane. Legendary difficulty is a serious challenge. Master difficulty is a tax audit with guns: every mistake gets itemized, and the bill arrives immediately. The old guide's advice still holds in 2026: bring a good Void weapon, pack anti-Champion tools, and treat every sniper nest like it is personally offended by the player's existence.
A practical loadout looks like this:
-
🔫 A reliable Void primary or special weapon for shields and suppression.
-
🎯 A long-range option for snipers, Shriekers, and peek-shooting.
-
🚀 A burst Heavy weapon for Lucent Lightbearers, Chieftains, and Brutiks.
-
🛡️ Anti-Overload and anti-Unstoppable tools for Master difficulty.
-
🧘 Patience. This is not a flex loadout; it is a survival loadout.
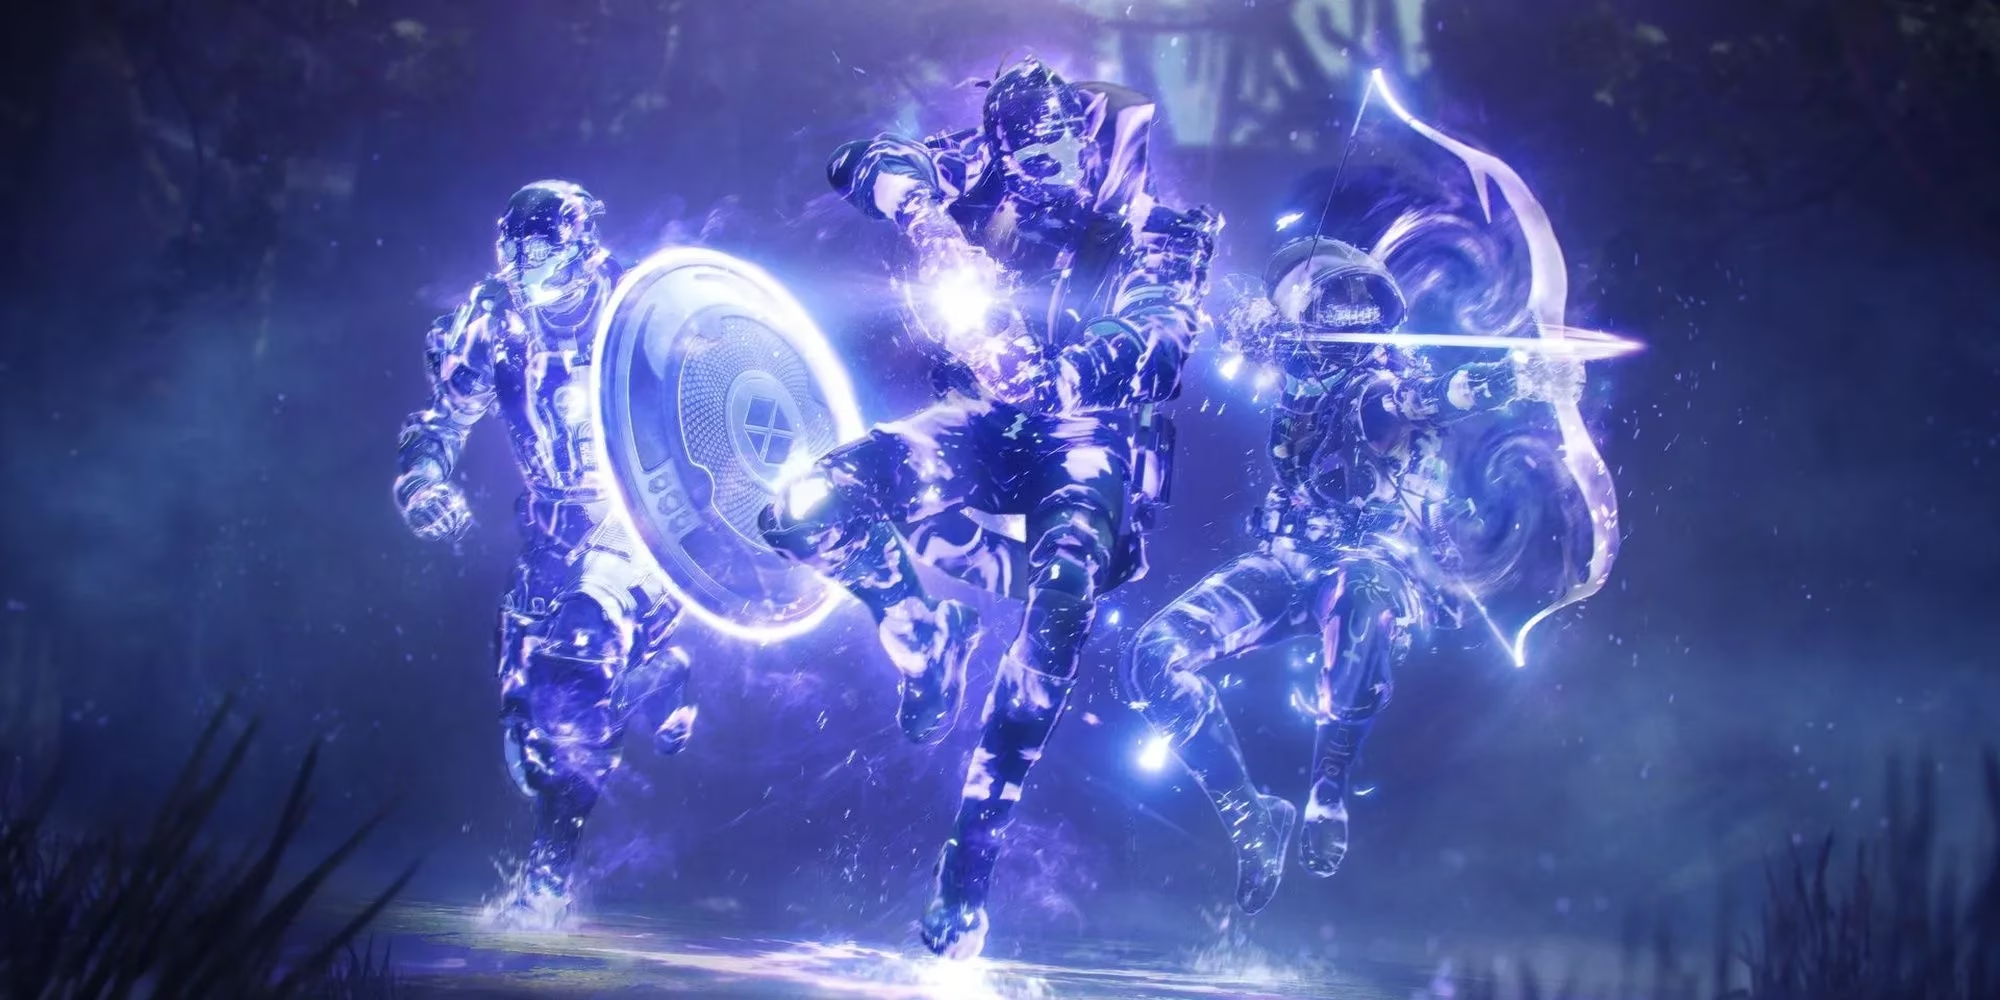
Locate Savathun's Secrets
The mission opens outside a fortified cave. Players should move down carefully, using cover instead of treating the approach like a sprint. The first real obstacle is a Shrieker and a Lucent Lightbearer Wizard. Kill the Shrieker first, then thin out the Acolytes while keeping distance from the Wizard. That Wizard uses Stormtrance, Lightning Grenades, and Healing Rifts. Suppressing the Wizard or bursting it down with Heavy ammo is the cleanest answer. If the Super comes out, hide. Do not duel a Stormtrance Wizard in the open. The Wizard fight is less a duel and more a pop quiz where the wrong answer is a lightning storm. Kill the Wizard, crush the Ghost, and move on.
Temple of the Wrathful
After rallying the flag, players should clear the Scorn on the left first. A Void-shielded Chieftain is the priority because its totems can make nearby Scorn invincible. Once those enemies are down, a Lucent Lightbearer Acolyte appears near a Hive pillar. This one uses a Hunter-style Gunslinger kit: dodges, Swarm Grenades, and Blade Barrage casts tied to dodging. It is incredibly dangerous. If it pops its Super, find cover immediately. A fast team can kill the first Lightbearer as it spawns, but the second Lightbearer at the back of the room is the real problem. It sits with Knights and Acolytes, and pushing that group on Legendary is rough; on Master, it is suicide with extra steps.
On Master, the Scorn wave after both Lightbearers includes an Overload Chieftain and an Unstoppable Abomination. The Legendary version is milder. Players should stun the Abomination, kill the Chieftain first, then finish the rest. On Master, the Temple feels like a library where every book is a mimic: the quiet corners are the most dangerous.
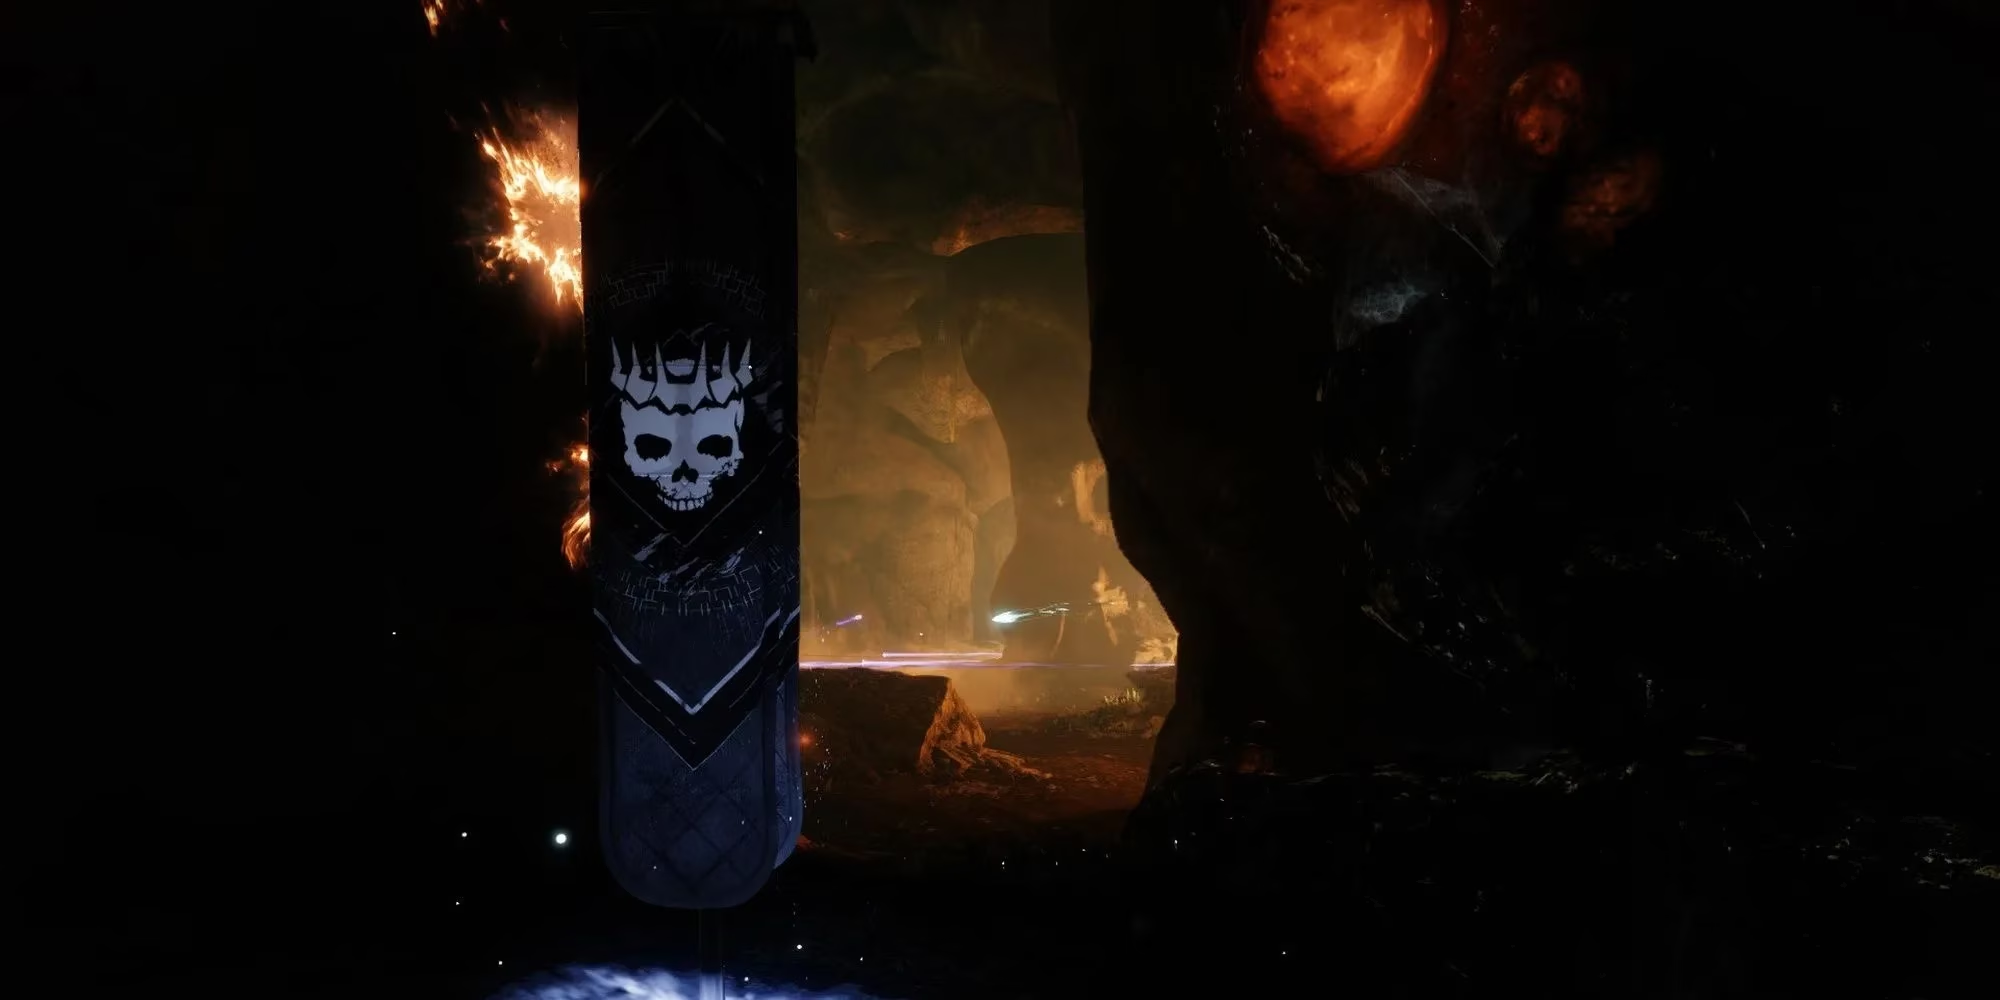
Cavern path and the Scorn Walker
The next stretch leads into a dim cavern. Shoot the orange puss sacks on the walls to light the area, then move down slowly. Two Scorn snipers wait at the bottom. Older guides warned that these snipers could bug out and one-shot players; that specific bug is ancient history in 2026, but the lesson is not. Respect the sightlines, use long-range weapons or abilities, and do not assume resistance mods will save a careless peek.
Outside, a Scorn Walker and its escort block the path. There is no rally flag, but it might as well be an encounter. Players should stick to the rock just beyond the Scorn Pikes and avoid pushing forward. The Walker can launch a swarm of projectiles that deletes careless Guardians on Master. Kill adds first, ignore the Overload Chieftain at the back until the tank is destroyed, and break the Walker's legs one at a time. When a leg breaks, the front weak point opens. At roughly the last third of its health, another Scorn wave spawns. Clear it, break another leg, finish the Walker, then deal with the Overload Champion on Master before heading inside.
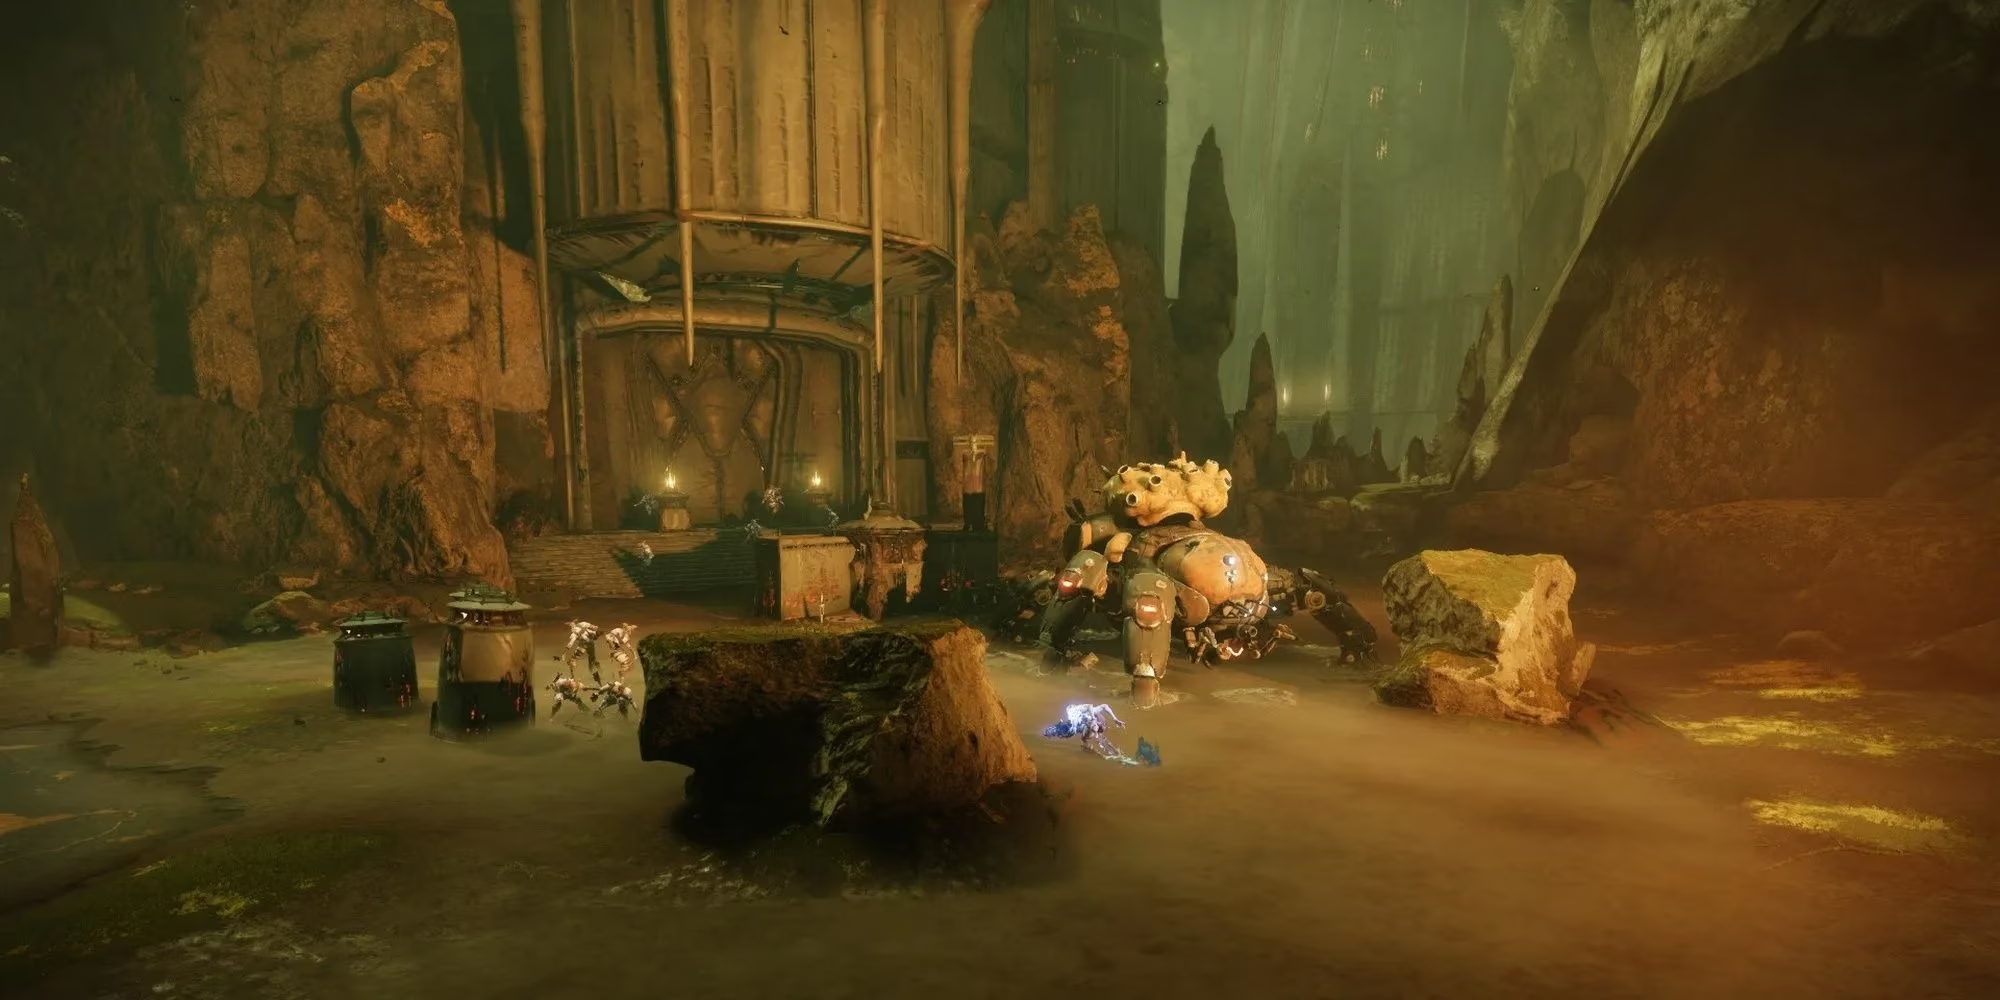
The well arena and the Baron's shield
Inside the building, Scorn snipers are the real threat. Kill them first, then handle the Overload Chieftain on Master. Destroy the floating crystal and follow the waypoint up the fortress ruins. At the top is the well arena, guarded by more Scorn and two crystals blocked by Hive magic. Pick off snipers from a distance before dropping in. Then move left immediately, use a Super on the Abomination and Chieftain, and retreat if the kill is not fast enough. Clear one side, handle the fresh adds, kill the second Chieftain, break both crystals, and drop into the well.
The Hangman Baron has somehow returned, but players cannot damage it yet. Three side rooms each contain a Chieftain and a crystal. On Master, those Chieftains are Overloads, so anti-Overload weapons should be ready before entering. One room has Screebs that charge; keep distance. The room with no symbols is a trap: four Shriekers inside will kill a Guardian in less than a second. Do not enter it. Destroy all three crystals, return to the Baron, and follow it down.
Defeat Brutiks, Lightbane
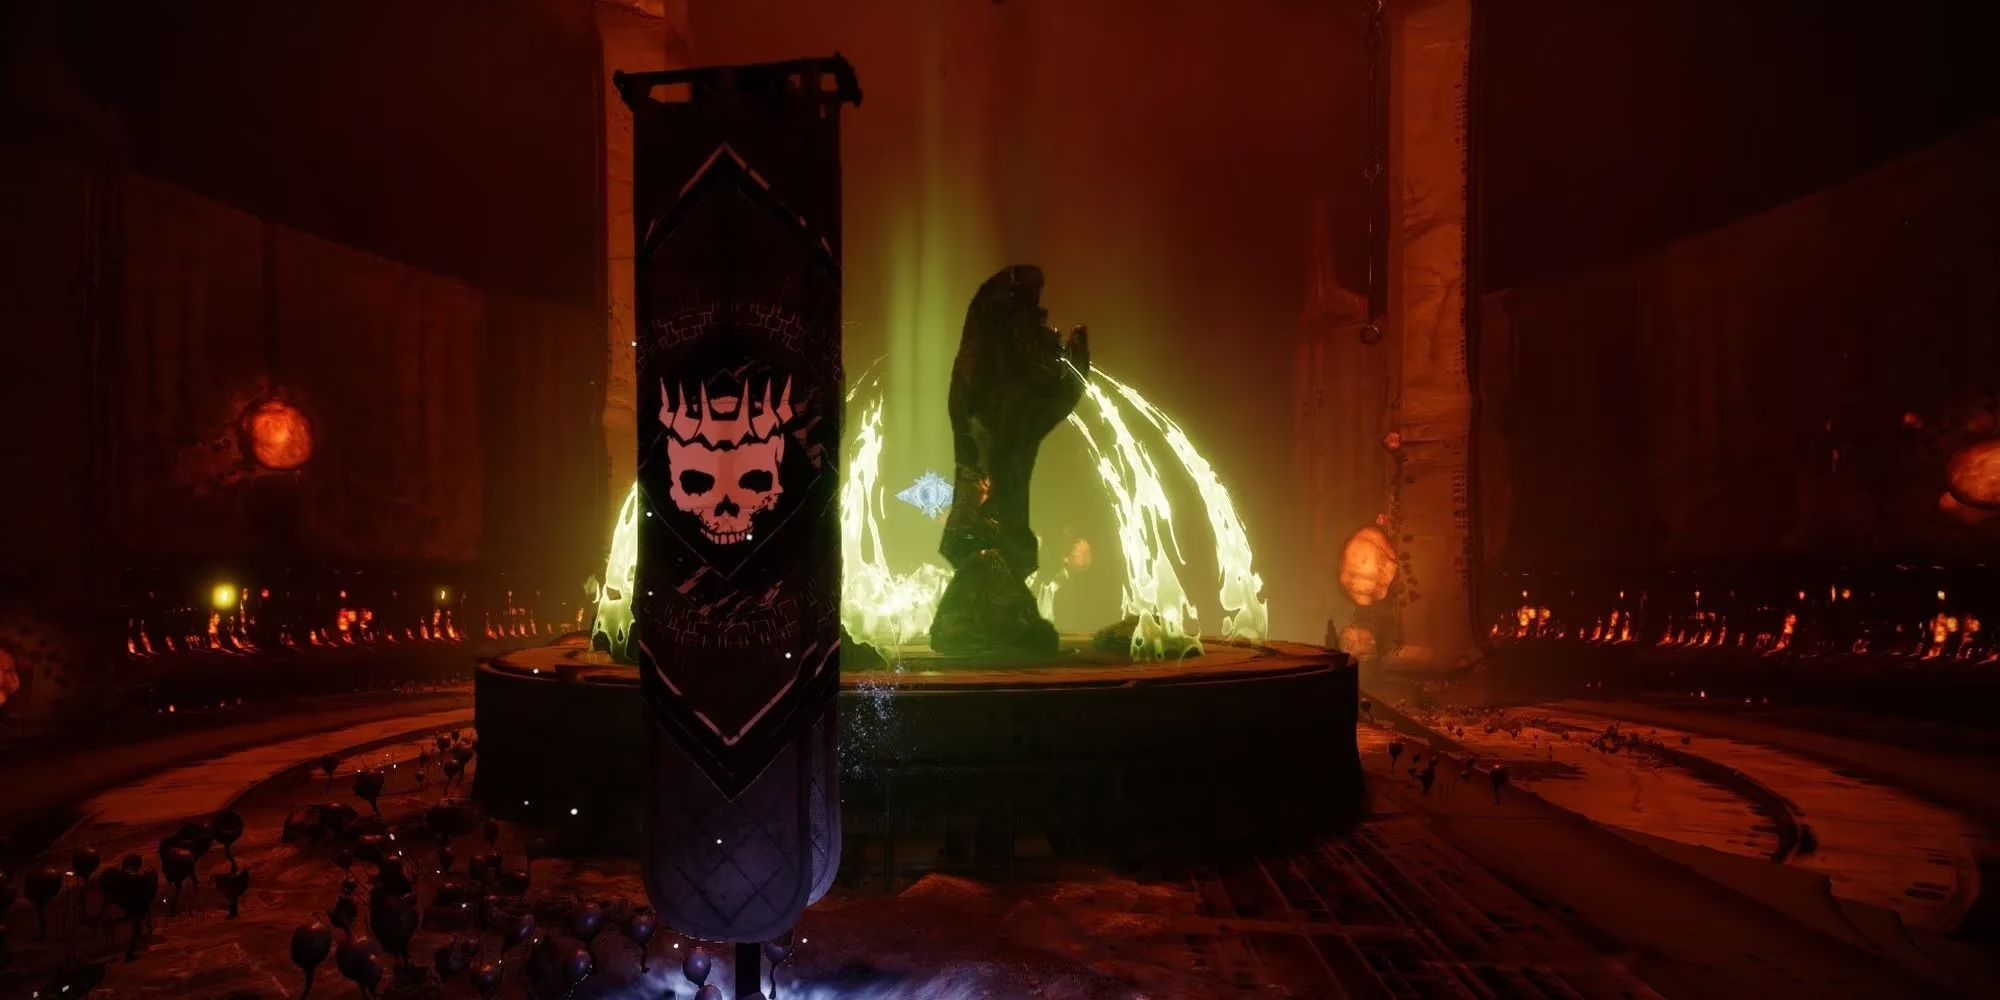
The final fight is a patience check. Kill the Chieftain to drop a crystal's shield, destroy the crystal, then damage Brutiks. Linear Fusion Rifles and Rocket Launchers are excellent here. Brutiks deals immense melee damage, so players should never let him close the gap. Brutiks is a walking wood chipper with a health bar; the only correct response to his melee range is to become a rumor. When he spins his thurible, he is about to create a wall of fire. That recovery window is a good time to deal damage.
Once Brutiks loses a third of his health, he becomes immune again. Three more crystals must be destroyed in rooms marked by floating Hive runes. Each crystal is guarded by a Chieftain, upgraded to an Overload on Master. Clear adds quickly, break all three crystals, damage the boss, and repeat once more. On Master, finishing Overload Champions with Lucent Finisher can spawn Heavy ammo for the damage phase.
| Encounter | What players face | Shields | Master twist |
|---|---|---|---|
| Temple of the Wrathful | Two Lucent Hunters, Scorn, Chieftains | Arc, Void | Overload + Unstoppable |
| Scorn Walker | Walker, adds, Chieftains | Arc, Void | Overload |
| Well Arena | Chieftains, snipers, Abomination | Arc, Void | Overload + Unstoppable |
| Brutiks, Lightbane | Baron, Chieftains, crystals | Arc, Solar, Void | Overload |
The Ghosts does not need a fancy trick in 2026. It needs a fireteam that slows down, kills snipers early, respects Lucent Supers, and refuses to enter the room with four Shriekers. Do that, and Brutiks falls. Do not, and the mission becomes a very educational experience in respawning. 🫡
Discussion