Destiny 2: Concealed Void Master Lost Sector Guide (2026 Edition)
Look, I'm not going to sugarcoat this: Concealed Void has been squatting on Europa since Beyond Light, and it has spent every one of those years perfecting the art of making Guardians miserable. Tight corridors, a Barrier Servitor that thinks it's everyone's overprotective parent, and an Overload Captain with the patience of a parking meter. And yet, here we are in 2026, still diving in every time the rotation hands us the right Exotic armor slot. So let's talk about how to farm it without rage-quitting.
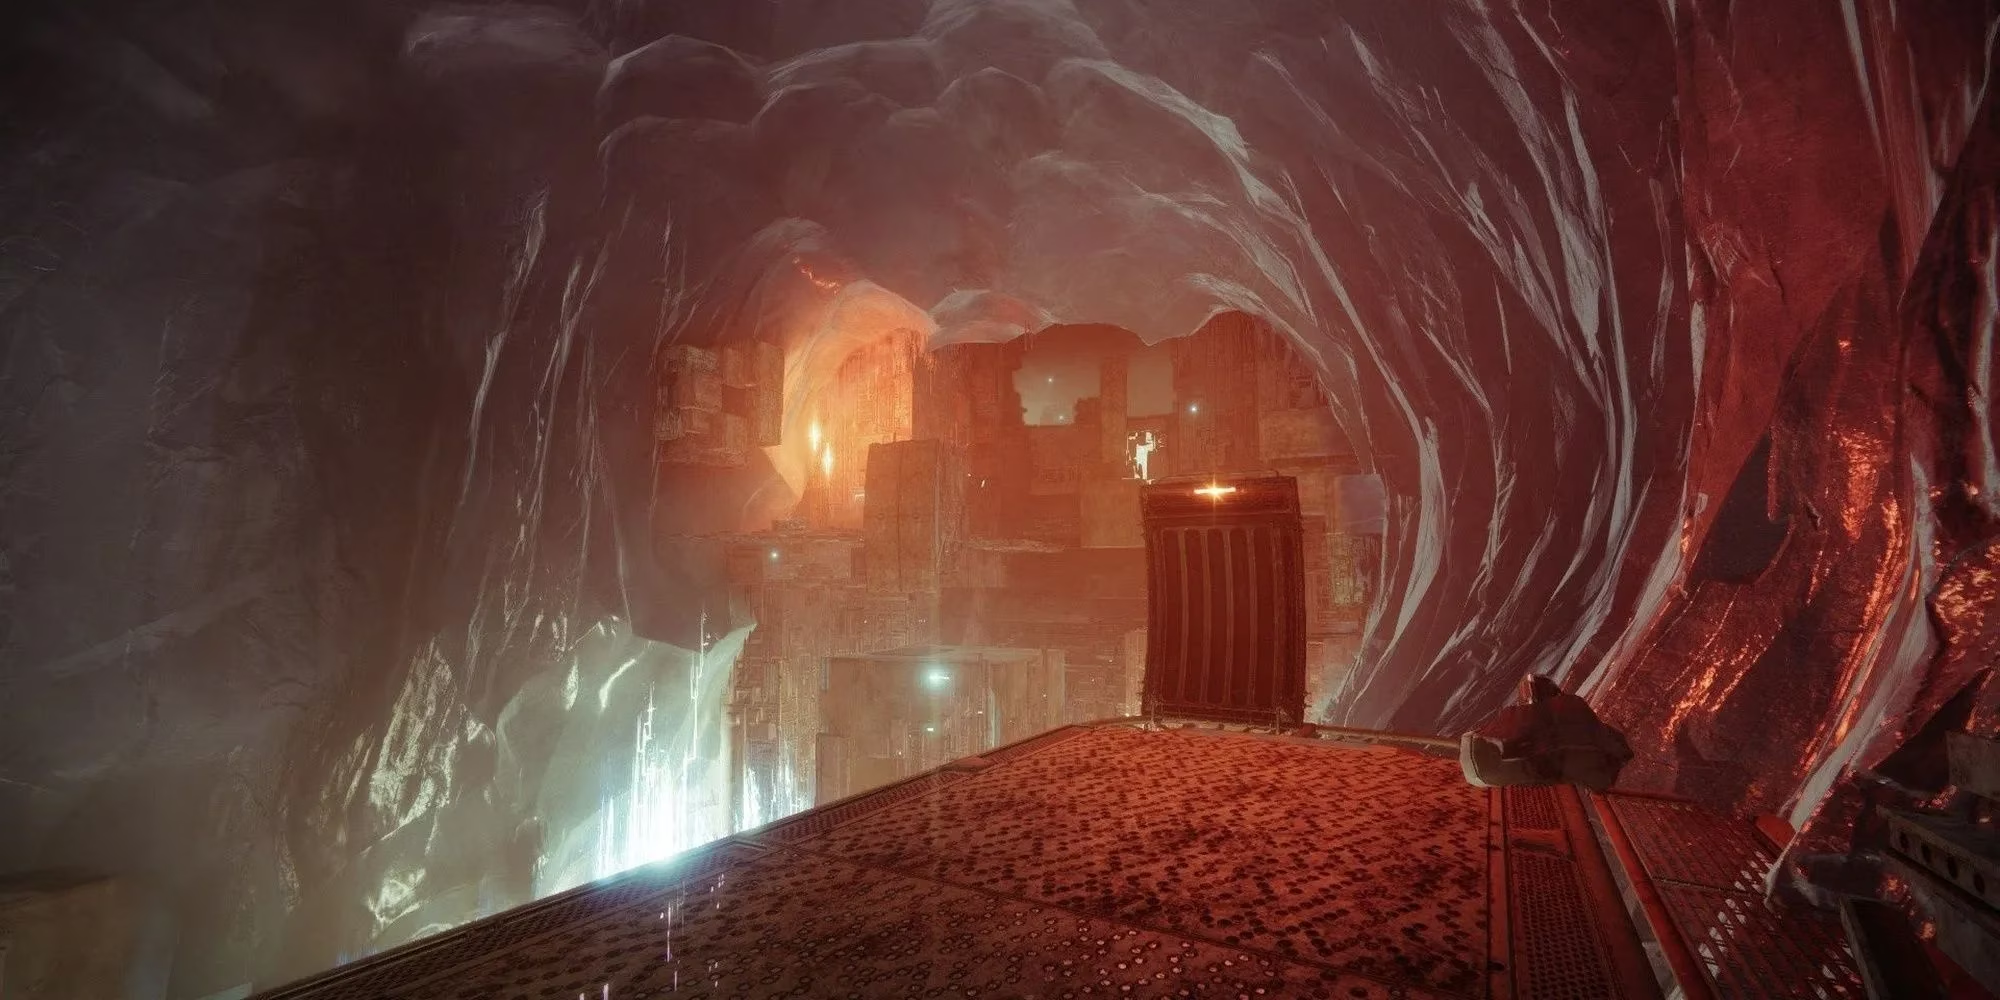
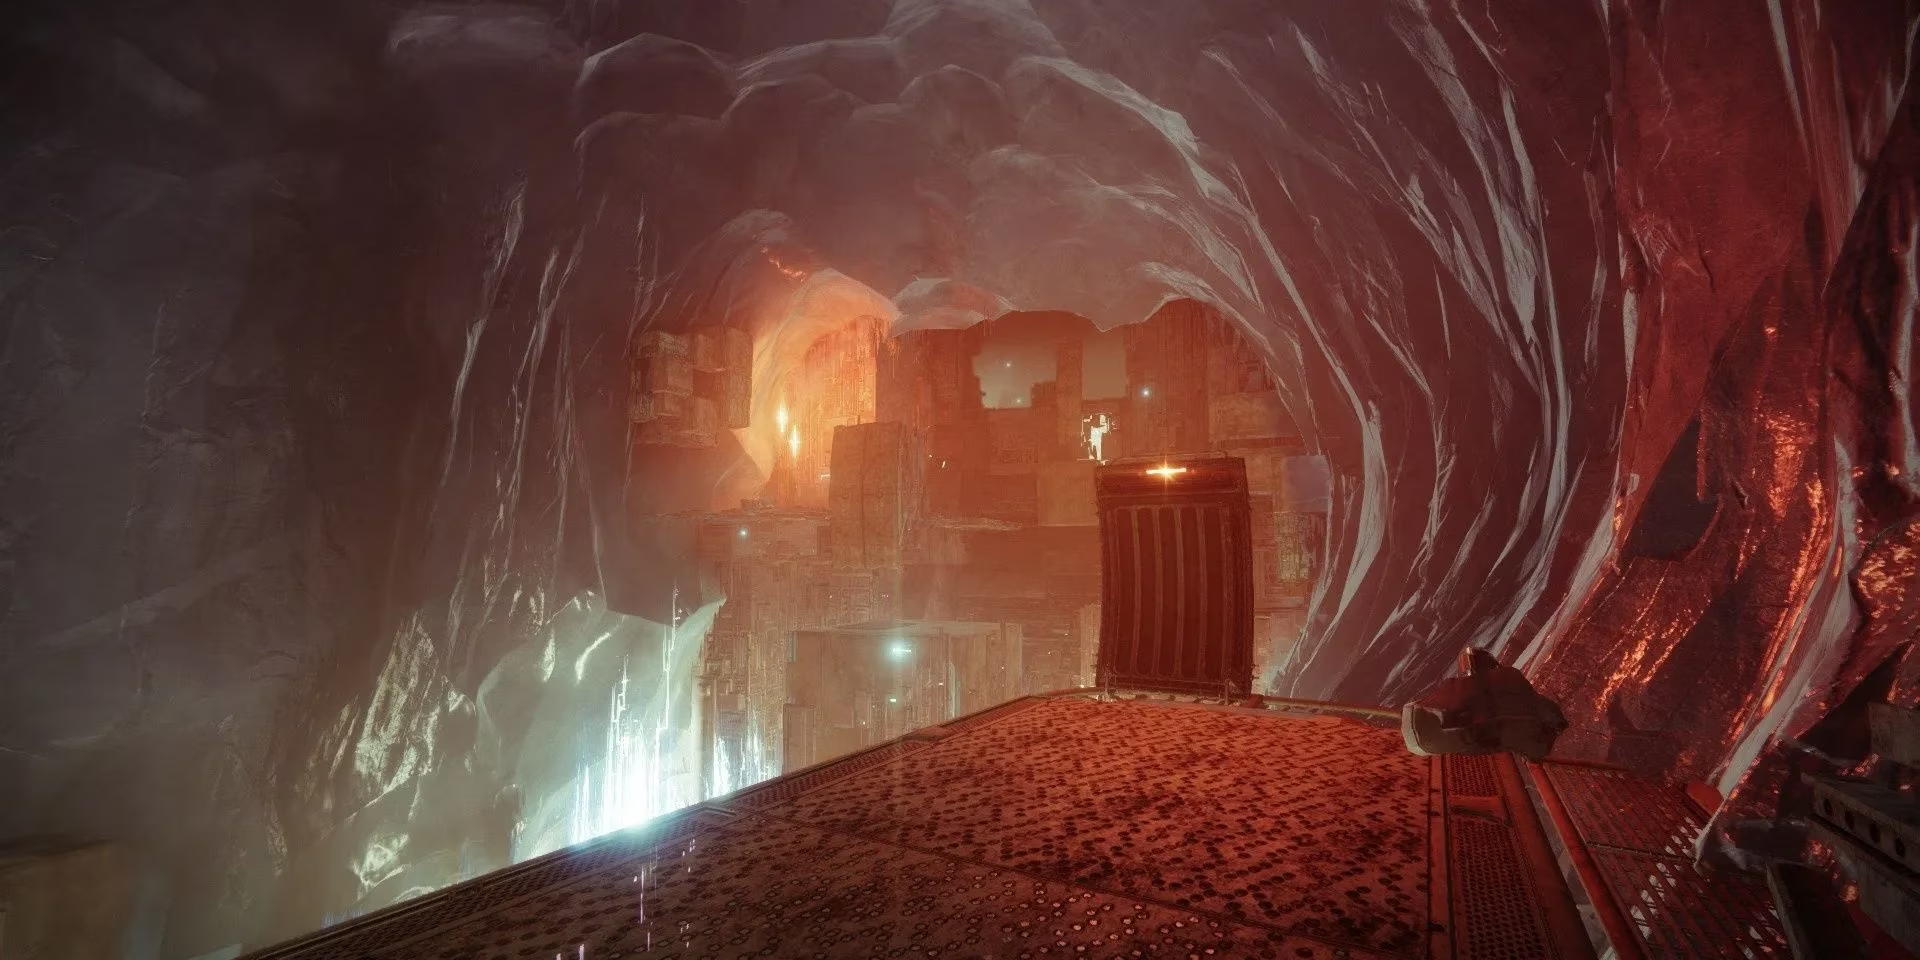
Why Bother In 2026?
Master Lost Sectors remain the most reliable way to target-farm a specific Exotic armor slot without praying to the RNG gods of a raid chest. Concealed Void is one of the faster clears once you know the layout, which makes it a fantastic daily pit stop — especially during weeks when the helmet or chest slot is on the menu. Modern subclasses, ability spam, and the current artifact perks have made this dramatically easier than the old days. Prismatic builds in particular turn the champion problem into a mild inconvenience.
Modifiers You Should Expect
| Modifier | What It Does | My Reaction |
|---|---|---|
| 🛡️ Champions | Barrier + Overload | Bring both stuns. Non-negotiable. |
| ⚡ Match Game | Shields resist unmatched elements | Void is your best friend here. |
| 💀 Extinguish | Wipe = back to orbit | No heroic last stands, please. |
| 🔫 Limited Revives | Dying costs the team | Stay behind cover, hotshot. |
| 🏃 Equipment Locked | Can't swap mid-run | Plan your loadout before you launch. |
The Loadout That Actually Works
-
Primary: Any solid Overload-stunning auto rifle or SMG. Reliable, boring, effective.
-
Special: A Void fusion rifle or shotgun for shredding Barrier shields and the chunky Servitors.
-
Heavy: A rocket launcher or linear fusion rifle for the boss and emergencies.
-
Subclass: Void or Prismatic. Devour, invisibility, and reliable crowd control are worth their weight in Glimmer.
-
Mods: Anti-Barrier and Overload mods, plus something that regenerates ability energy. You'll need it.
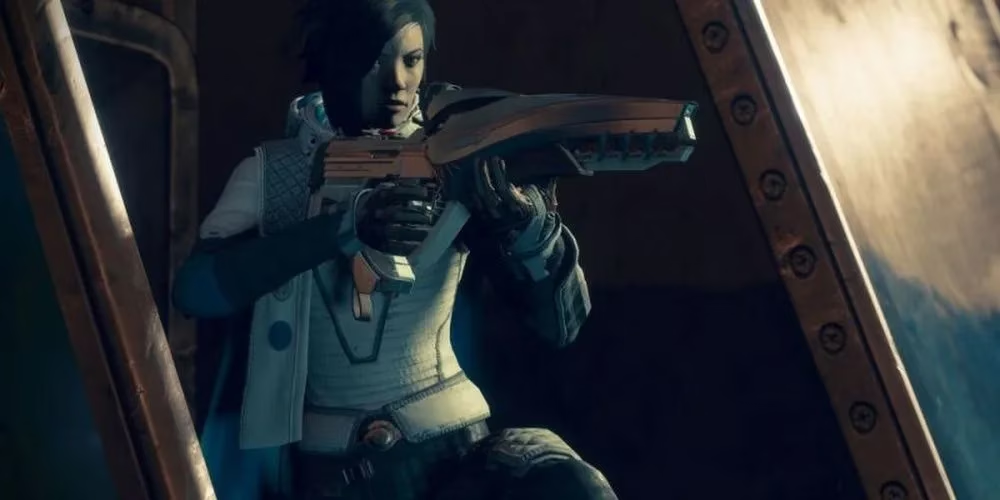
The Entrance: Where Dreams Go To Die
Honestly, this room is the hardest part of the whole run. Rush the first two Dregs before they can even finish their little screech. A Shank and another Dreg sit in front of you, and roughly a few seconds later an Overload Captain decides to introduce itself. Stun it, kill it, move on. If the Captain is being shy and hiding behind geometry, shoot the ground near it or peek through the small slit on your right — that usually wakes it up.
Next, push up slightly and delete the two Vandals in the back. Why? Because killing them baits the Barrier Servitor into repositioning toward the back of the room, which is exactly where you want it. Once you have a clean angle, pump it with your Special or Heavy until those shields pop, then finish the job. Clean up the Heavy Shank and the corner Shanks, and you're through.
The Radiolarian Pool
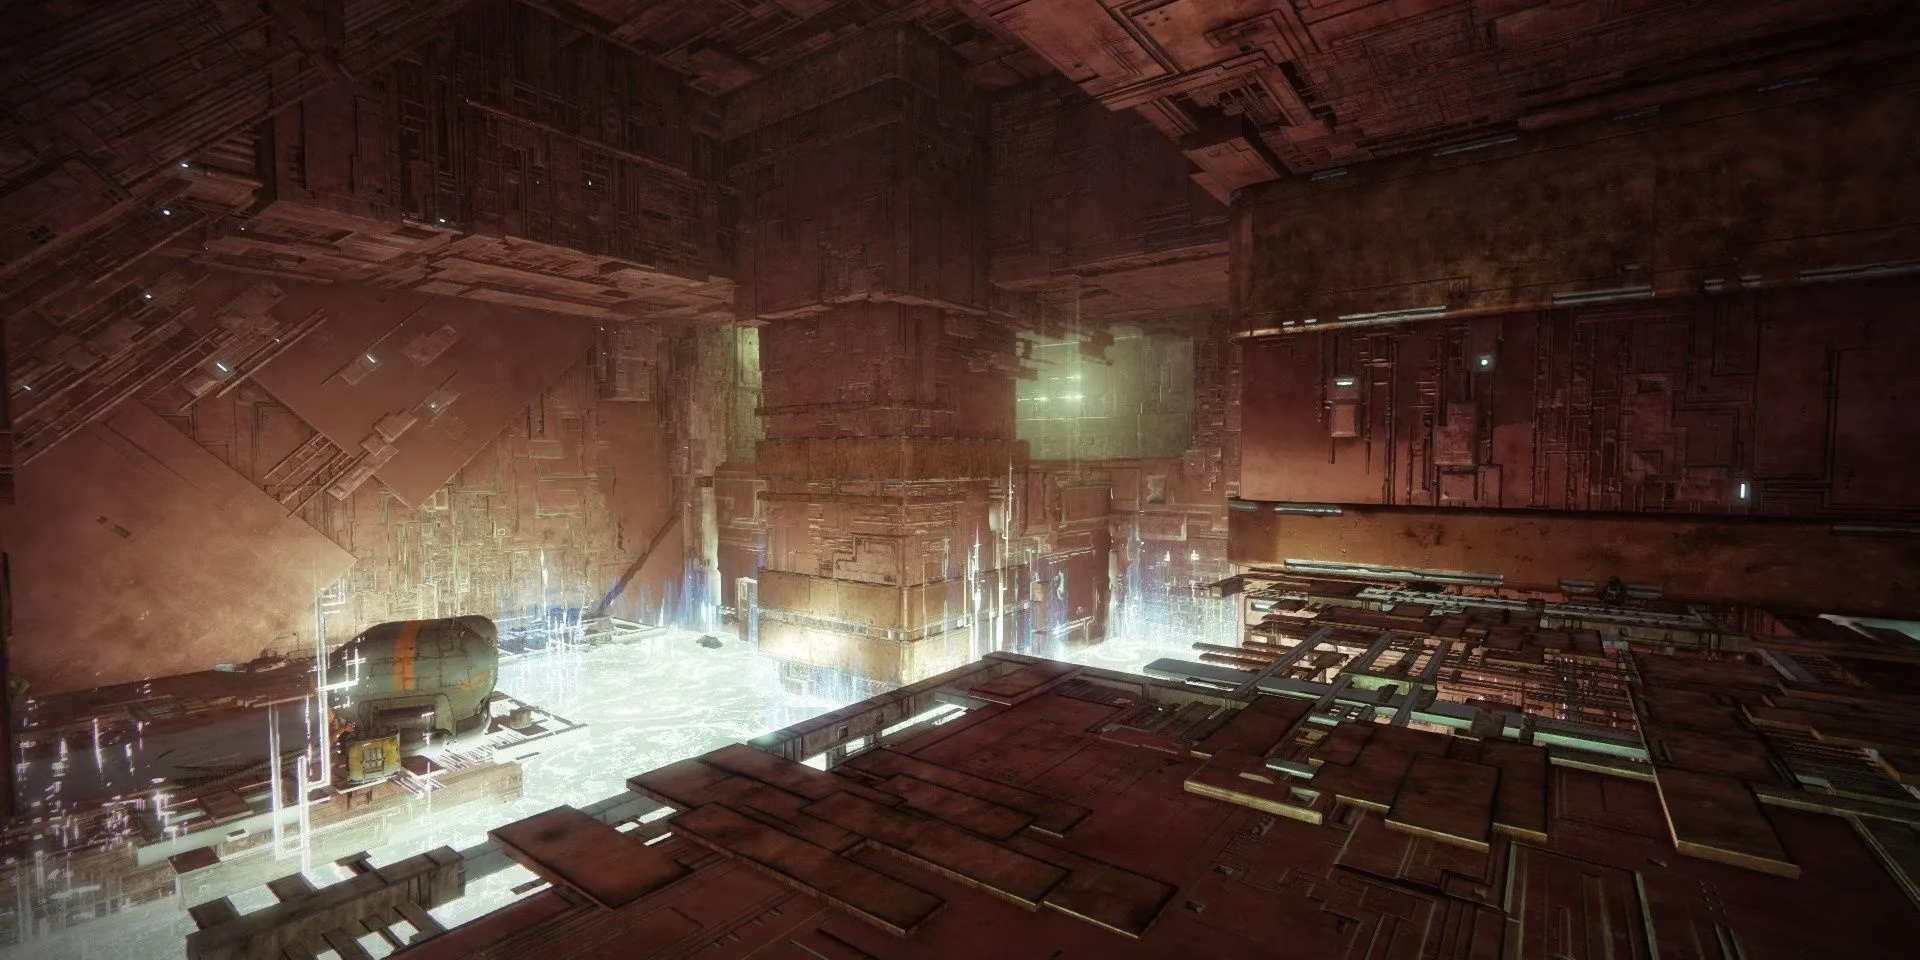
Slide under the horizontal bar and take a breath. To your left: a Barrier Servitor. Straight ahead: an Overload Champion. Delightful.
Here's the deal — ignore the champions at first. Use your primary to mow down every red bar you can see, because fighting champions while a dozen Dregs nibble your ankles is how runs die. Once the room is quiet-ish, stun and kill the Overload, then work the Barrier Servitor in the corner, breaking its shields as needed.
At the far end you'll find a second Overload Captain and a sniper Vandal. Kill the Vandal first — always the Vandal first — then deal with the champion from range or up close. Both dead means the energy field drops.
The Corridor
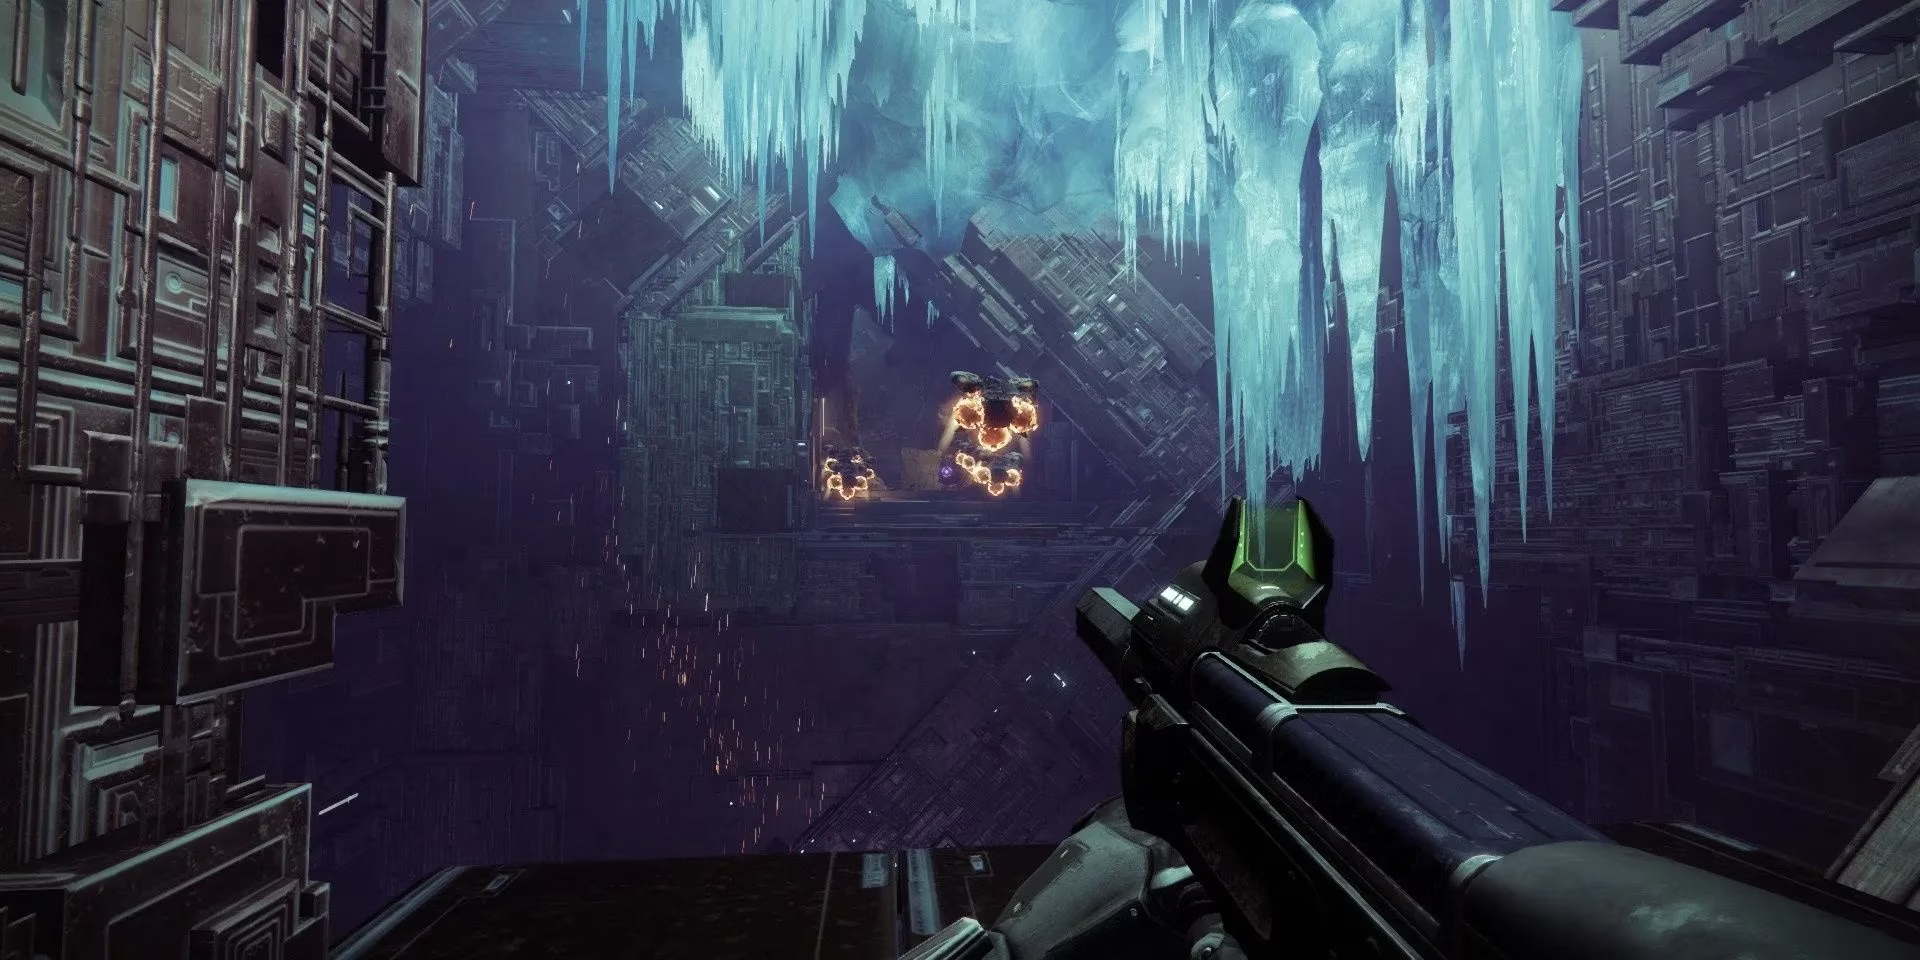
Wretches spawn the moment you arrive. Kill them, jump the gap, and immediately double back. Trust me on this one — two waves of Explosive Shanks spawn behind you, and they will absolutely turn your ankles into confetti if you keep pushing forward. Back up, blow them all up, then cross the gap again.
Now you're facing a Barrier and Overload duo. Focus the Barrier Servitor first unless they're standing apart, in which case handle whoever is closest. If the Overload is being a menace, stun it right after you break the Servitor's shields — that buys you a few precious seconds of breathing room.
The Boss Arena
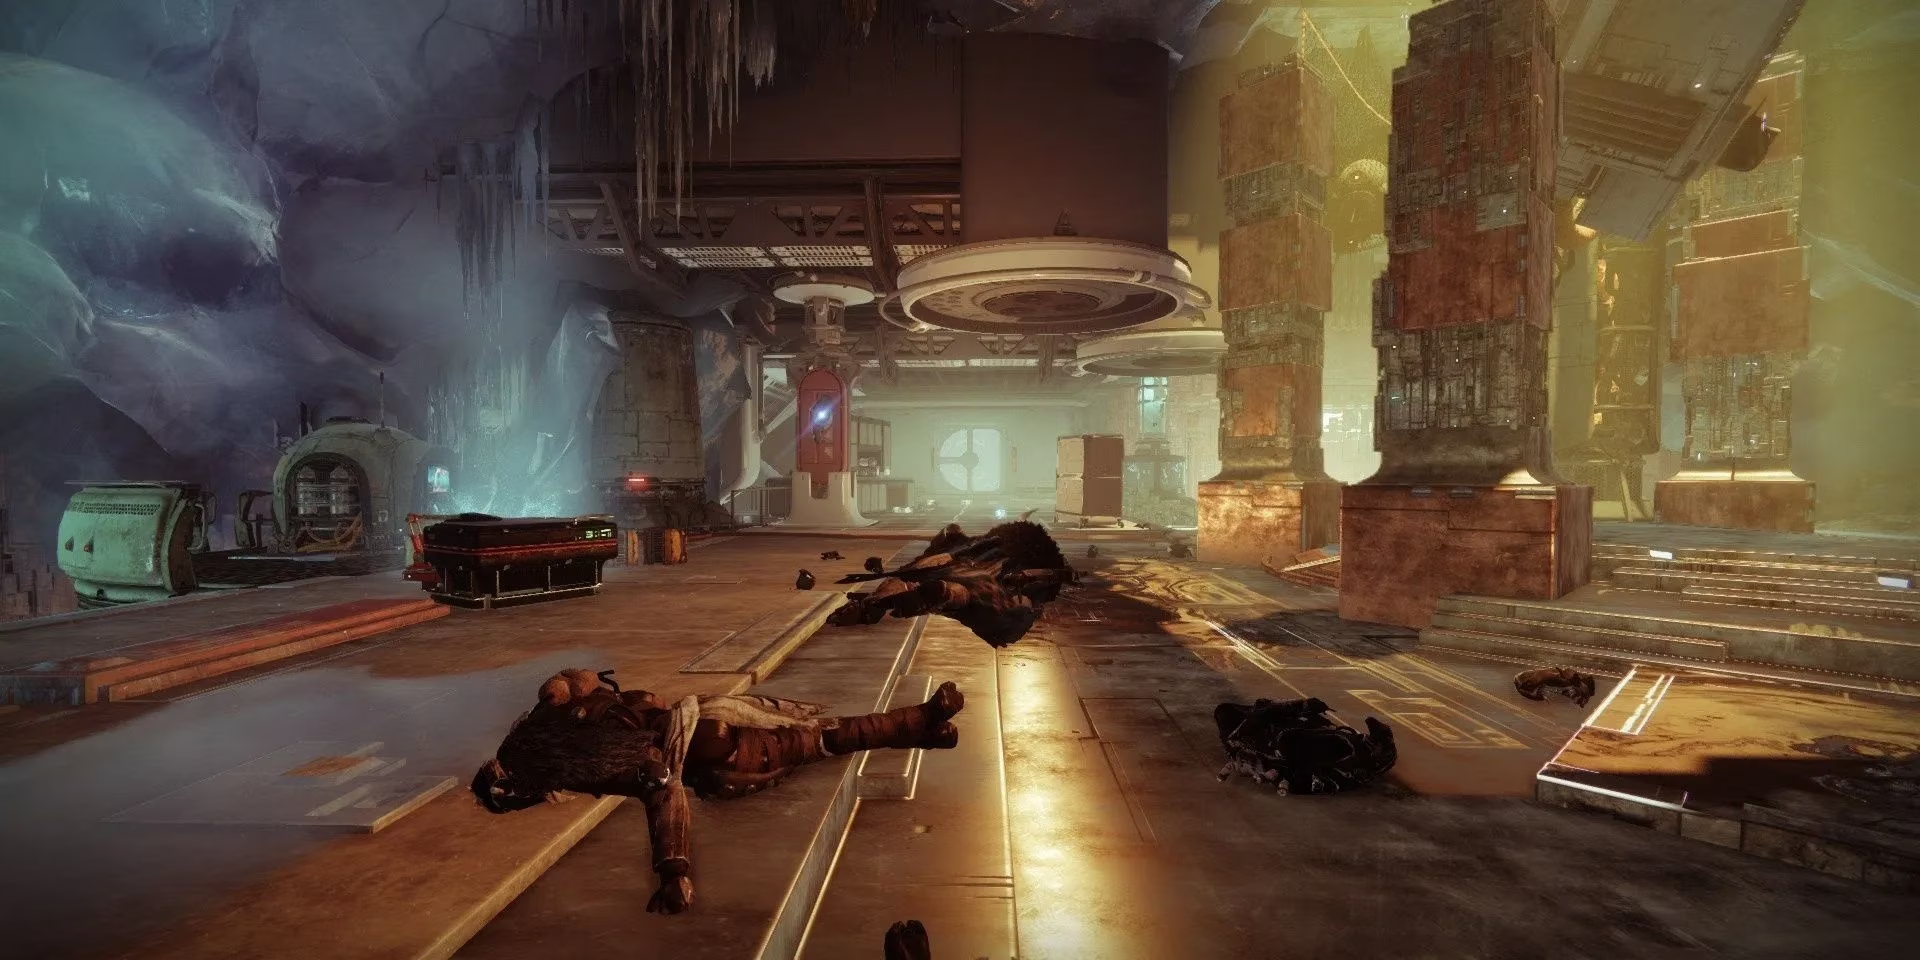
Good news: no champions here. Just a Captain boss, Servitors, Wretches, Dregs, and Vandals.
If you've got heavy ammo, dump it into the boss immediately and end the fight before it starts — that's your Platinum run. Otherwise, hang near the entrance and pick off the adds. Every time the boss loses about a third of its health, a fresh wave spawns alongside a Servitor. Those Servitors are annoying without a Void weapon, but a well-placed ability or a rocket solves them quickly. Once the Captain is dead, open the chest and collect your loot.
Final Tips From Someone Who Has Died Here Too Many Times
-
🎯 Kill red bars before champions. Always.
-
🛡️ Break Barrier shields with matching damage types — Match Game is not a suggestion.
-
🏃 Keep moving, but never outrun your cover.
-
🎁 Platinum runs require killing every champion. Miss one, and you're getting a participation trophy.
So there you have it. Concealed Void is still a grumpy, claustrophobic little dungeon of a Lost Sector, but with the right build it's just a quick morning jog with a nice Exotic-shaped reward at the end. Good luck out there, Guardian — and please, don't punch the Servitor. It only encourages it.
Discussion